The Toshiba DVR620KU is a combined DVD recorder and VCR, offering versatile playback and recording options․ This manual provides essential setup, operation, and troubleshooting guidance․
Overview of the DVR620KU Model
The Toshiba DVR620KU represents a convenient all-in-one solution, merging DVD recording capabilities with traditional VCR functionality․ This combo device allows users to both record onto DVDs and play/record VHS tapes․ It’s designed for simplicity, offering a user-friendly interface for managing recordings and playback․ Key features include timer recording, direct recording from external sources, and various playback controls for both disc and tape formats․
The model number and serial number, crucial for support, are located on the unit’s rear panel․ This manual serves as a comprehensive guide for owners, detailing everything from initial connections to advanced features and troubleshooting common issues․
Key Features and Capabilities
The Toshiba DVR620KU boasts a range of features designed for ease of use and versatility․ Core capabilities include recording television programs onto both DVD discs and VHS tapes, offering flexible archiving options․ Users benefit from timer recording and scheduling, enabling unattended recording of favorite shows․ Direct recording from external sources, like a camcorder, expands its functionality․
Playback options cover both DVD and VCR formats, ensuring compatibility with existing media collections․ Editing functions – erasing, splitting, and joining – allow for customized recordings․ Disc management features, like formatting and finalizing, optimize DVD performance․
Setting Up Your DVR620KU
Initial setup involves connecting the DVR620KU to your TV, antenna, and potentially a VCR․ Careful attention to these connections ensures optimal performance and functionality․
Initial Connections: TV, Antenna, and VCR
Connecting to your TV typically involves using either composite (RCA) or S-Video cables for video, and RCA cables for audio․ Ensure proper color-matching of the cables to the corresponding inputs on both the DVR620KU and your television․
For antenna connection, use a coaxial cable to connect your antenna or cable TV signal to the “ANT IN” connector on the rear panel․ This allows you to receive over-the-air broadcasts․
If connecting a VCR, utilize the RCA audio/video inputs on the DVR620KU․ This enables you to record from or play back tapes through the combined unit, expanding your recording and playback options․
Basic Setup Menu Navigation
Accessing the setup menu is done via the “Setup” button on the remote control․ Use the arrow keys to navigate through the various options, including Picture, Sound, Recording, and Playback settings․
Within each menu, highlight the desired setting and press “Enter” or “OK” to modify it․ Utilize the number pad for direct input when available․
Remember to save any changes made before exiting the setup menu, typically by selecting “Save” or “Exit” with your remote․ Proper navigation ensures optimal performance and customization of your DVR620KU․
Recording First Programs
To begin recording, ensure your antenna or cable connection is secure and a recordable media (DVD-R/RW or VHS tape) is inserted․ Select the desired channel using the channel up/down buttons․

Press the “Record” button on the remote to initiate immediate recording․ For scheduled recordings, utilize the timer recording function (detailed elsewhere in this manual)․
Monitor the recording level displayed on the screen to ensure adequate signal strength․ Successful recording relies on proper connections and media selection․ Enjoy capturing your favorite shows!
Understanding the Recording Functions
The DVR620KU offers versatile recording options, including SP, LP, and EP modes, timer recording, and direct recording from external sources for convenience․
Recording Modes: SP, LP, EP
The Toshiba DVR620KU provides three distinct recording modes: SP (Standard Play), LP (Long Play), and EP (Extended Play)․ SP mode delivers the highest picture quality but records for the shortest duration․ LP mode offers a balance between quality and recording time, extending it moderately․
EP mode maximizes recording time, allowing you to fit more content onto a single tape, but at the expense of noticeable picture quality reduction․ Selecting the appropriate mode depends on your priorities – prioritizing quality or maximizing available recording capacity․ Consider the program length and desired viewing experience when choosing a recording mode․
Timer Recording and Scheduling
The DVR620KU excels with its timer recording capabilities, allowing you to schedule recordings in advance․ Access the scheduling menu to set the channel, start and end times, and recording mode for desired programs․ You can create multiple timers, ensuring you never miss your favorite shows, even when you’re away․
The system supports both one-time and recurring recordings, offering flexibility for weekly series or special events․ Confirm timer settings carefully to avoid recording errors․ Utilize the program guide for easy channel and time selection, streamlining the scheduling process and maximizing convenience․
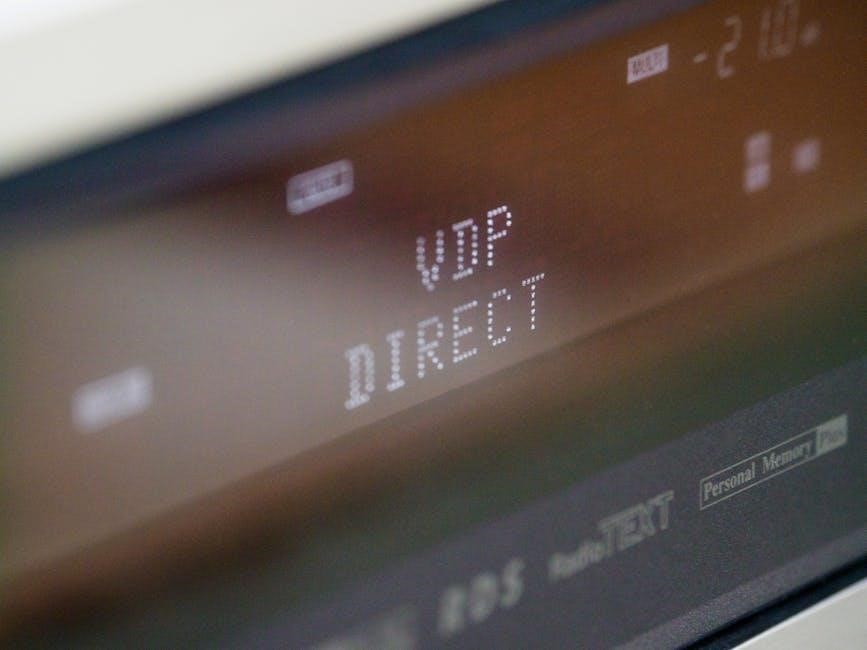
Direct Recording from External Sources
The Toshiba DVR620KU facilitates direct recording from external sources like VCRs or camcorders via its analog input jacks․ Connect the external device using appropriate cables, then select the corresponding input source within the DVR’s menu․ Ensure the external device is in playback mode before initiating the recording process on the DVR620KU․
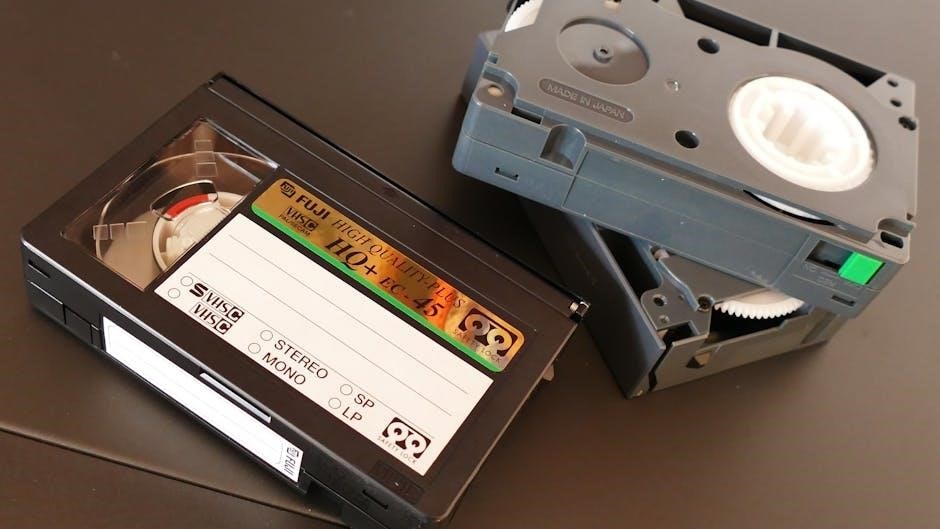
This feature is ideal for digitizing older VHS tapes or transferring home videos to DVD․ Pay attention to the recording quality settings to optimize the final output․ Remember to verify compatibility and adjust audio levels for the best possible recording results from external devices․
Playback Features and Options
The DVR620KU offers versatile playback for both DVDs and VHS tapes, providing standard controls for a convenient viewing experience with compatible formats․
DVD Playback Controls
Utilizing the remote control, users can easily navigate DVD playback․ Standard buttons include Play, Pause, Stop, and Eject․ The Skip Forward and Skip Backward buttons allow for scene selection, while the Menu button accesses the DVD’s interactive features․
Playback modes such as slow motion and fast forward are also available, enhancing viewing flexibility․ The Display button toggles on-screen information, showing the current playback time and chapter selection․ Zoom functionality is present for detailed viewing of specific areas․ Ensure the disc is properly loaded, label-side up, for optimal performance and a clear picture․
VCR Playback Controls
The VCR functionality offers familiar controls for cassette playback․ Essential buttons on the remote include Play, Record, Rewind, Fast Forward, and Stop․ Utilize the Pause button for temporary interruption․ The Scan buttons facilitate quick searching through the tape for desired scenes․
Picture adjustment options, like tracking, are available to optimize image quality․ Ensure the tape is fully inserted and the heads are clean for best results․ The VCR supports standard VHS tapes, providing access to your existing video library․ Proper tape handling prevents damage and ensures longevity of your recordings․
Playback Compatibility: Disc and Tape Formats
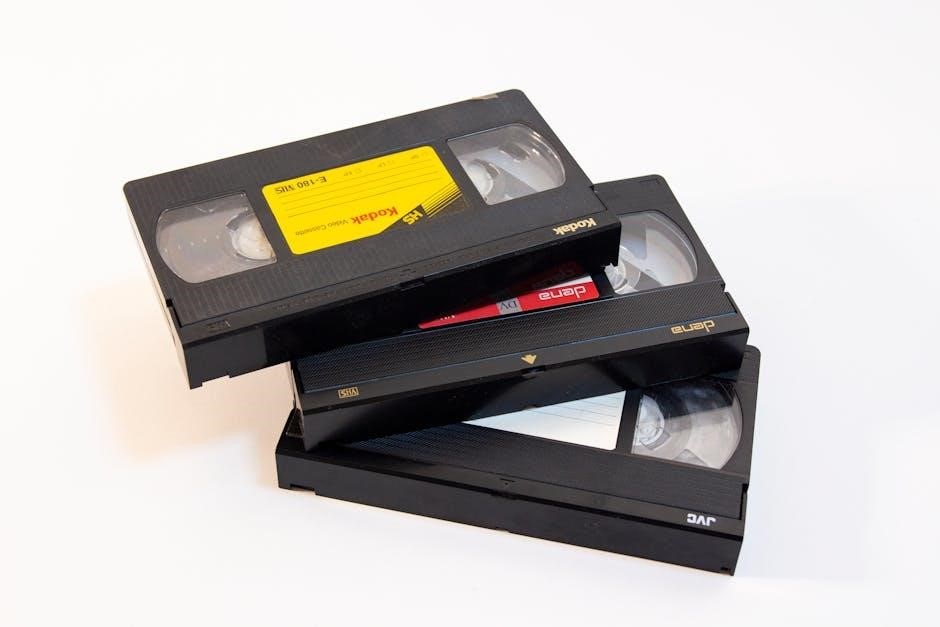
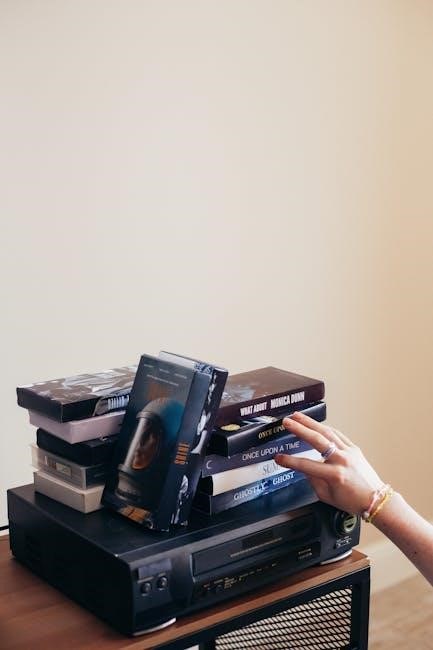
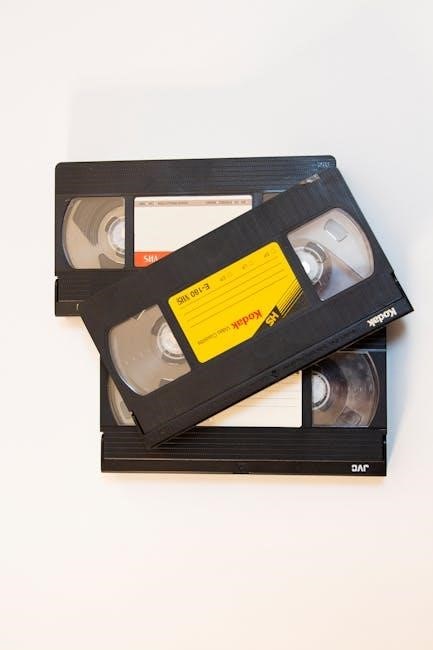
The Toshiba DVR620KU is designed for broad compatibility with various disc and tape formats․ It supports standard VHS tapes for your existing video cassette collection․ On the DVD side, it plays back DVD-Video discs, offering a wide range of movie options․ Compatibility extends to recordable DVD formats, including DVD-R and DVD-RW, allowing playback of your created discs․
However, it’s important to note that DVD+R/RW compatibility may vary․ Ensure discs are finalized after recording for optimal playback․ The unit is not compatible with Blu-ray discs or newer formats․ Clean discs and tapes are crucial for smooth, error-free playback․
Editing and Managing Recordings
This section details how to edit recordings – erasing unwanted content, splitting long programs, or joining clips․ Disc and tape management features are also explained․
Editing Functions: Erasing, Splitting, Joining
The DVR620KU offers several editing capabilities to customize your recordings․ Erasing unwanted segments is straightforward, allowing you to remove commercials or portions you don’t need․ Splitting a longer recording into smaller, manageable clips is useful for organizing content․ Conversely, joining multiple short recordings creates a single, cohesive program․
These functions are typically accessed through the editing menu on the on-screen display․ The manual provides step-by-step instructions for each process, ensuring accurate and efficient editing․ Remember to finalize the disc after editing to ensure compatibility with other DVD players․ Careful editing enhances your viewing experience and optimizes storage space․
Disc Management: Formatting and Finalizing
Proper disc management is crucial for reliable recording and playback with the Toshiba DVR620KU․ Formatting prepares a blank disc for recording, erasing any existing data and establishing a file system․ This ensures optimal performance and prevents errors․ Finalizing a disc, after recording, is essential for compatibility with standard DVD players․
Finalization writes lead-out information, signaling the end of the recording․ Without finalization, many DVD players won’t recognize the disc․ The manual details the formatting process, including selecting the appropriate disc type․ Always eject the disc properly after finalizing to avoid data corruption․
Tape Management: Rewinding, Fast Forwarding
Effective tape management is vital for preserving your VCR recordings on the Toshiba DVR620KU․ Rewinding returns the tape to the beginning, preparing it for playback or re-recording․ Fast forwarding allows you to quickly locate specific sections of a tape․ The manual emphasizes the importance of fully rewinding or fast forwarding tapes after use to reduce stress on the tape mechanism․
Consistent use of these functions extends the lifespan of both the tape and the VCR․ Avoid abruptly stopping the tape during rewind or fast forward, as this can cause damage․ Regular tape maintenance, as outlined in the manual, ensures optimal recording quality․

Troubleshooting Common Issues
This section addresses frequent problems with the Toshiba DVR620KU, including no picture/sound, recording/playback errors, and remote control malfunctions․
No Picture or Sound
If experiencing a lack of picture or sound, first verify all cable connections – TV, antenna, and VCR – are secure․ Ensure the TV is set to the correct input source corresponding to the DVR620KU’s output․ Confirm the volume is not muted on either the Toshiba unit or the television itself․
Check the disc or tape being played; a damaged medium can cause these issues․ Try a different disc or tape to isolate the problem․ If using an external source, verify its audio/video outputs are functioning correctly․ Finally, a power cycle of the DVR620KU might resolve temporary glitches․
Recording or Playback Errors
Encountering recording or playback errors often indicates issues with the disc or tape quality․ Ensure the recording media is compatible with the DVR620KU and isn’t damaged․ A “No Disc” or “Tape Error” message suggests a problem with the loaded medium; try a different one․
If errors persist during recording, check available disc space or remaining tape length․ Interference from external sources can also cause issues․ Clean the disc lens or VCR heads using a commercially available cleaning kit․ A system reset might resolve software-related errors․
Remote Control Problems
If the remote control isn’t functioning, first check the batteries, ensuring they are correctly installed and have sufficient charge․ Aim the remote directly at the DVR620KU’s sensor, unobstructed by objects․ Interference from fluorescent lights or other electronic devices can sometimes disrupt the signal․
Try resetting the remote by removing and reinserting the batteries․ If problems continue, clean the remote’s infrared emitter and the unit’s sensor․ A faulty remote may require replacement; ensure you obtain a compatible Toshiba remote for the DVR620KU model․

Advanced Features
Explore the program guide for easy scheduling, connect external devices for expanded functionality, and utilize digital audio output for superior sound quality․
Using the Program Guide
The DVR620KU’s program guide simplifies recording․ Access it via the menu to view a listing of available TV programs․ Navigate using the arrow keys and select desired shows for recording․

You can set one-time recordings or create recurring schedules․ The guide displays program titles, dates, times, and channel information․ Utilize the search function to quickly locate specific programs or channels․
Confirm your recording selections before exiting the guide․ Ensure the correct recording mode (SP, LP, EP) is chosen for optimal quality and recording duration․ The program guide is a powerful tool for effortless recording․
Connecting External Devices
The Toshiba DVR620KU offers connectivity for external devices, enhancing its functionality․ Utilize the rear panel’s input/output jacks to connect devices like DVD players, auxiliary video sources, or external audio systems․
Common connections include composite video (RCA), S-Video, and stereo audio inputs․ Ensure proper cable connections for optimal signal transmission․ For improved audio quality, explore the digital audio output options․
Refer to the device’s manual for compatible connection types․ Properly connecting external devices expands the DVR620KU’s capabilities, allowing for versatile entertainment options and convenient playback․
Digital Audio Output Options
The Toshiba DVR620KU provides digital audio output options for superior sound quality․ A coaxial digital audio output allows connection to compatible receivers or amplifiers, delivering clear and precise audio signals․
Utilizing digital audio bypasses the analog-to-digital conversion process, preserving the original audio fidelity․ Ensure your receiver supports coaxial digital audio input for proper functionality․
Proper connection and configuration within the DVR620KU’s setup menu are crucial for optimal audio performance․ Explore these options to enhance your viewing experience with immersive, high-quality sound․
DVR620KU Specifications
This section details the technical specifications, power requirements, and physical dimensions (weight) of the Toshiba DVR620KU DVD/VCR combo unit․
Technical Specifications
The Toshiba DVR620KU boasts a diverse range of technical features․ It supports DVD-Video, DVD-R, DVD-RW, and DVD+R/RW recording formats․ Video output options include composite, S-Video, and component video, ensuring compatibility with various televisions․
Audio outputs encompass stereo RCA and digital optical connections․ The VCR section handles VHS tapes, offering standard playback and recording capabilities․ It features Nicam stereo sound for enhanced audio quality․
The unit supports multiple aspect ratios (4:3, 16:9) and includes progressive scan output for improved picture clarity on compatible displays․ It also incorporates a built-in Dolby Digital decoder for immersive sound experiences․
Power Requirements
The Toshiba DVR620KU operates on a standard AC 120V, 60Hz power supply․ Its power consumption typically ranges between 25 and 35 watts during operation, and less than 1 watt in standby mode, promoting energy efficiency․
The unit is designed with a universal power input, accommodating slight voltage fluctuations․ However, it’s crucial to utilize a grounded outlet to ensure safe and stable operation․ Avoid connecting the DVR620KU to an ungrounded outlet or extension cord․
Always disconnect the power cord during extended periods of non-use or before cleaning the device․ Proper power management safeguards the unit and extends its lifespan․
Dimensions and Weight
The Toshiba DVR620KU boasts a compact design, measuring approximately 17․1 inches (width) x 10․2 inches (depth) x 4․1 inches (height)․ These dimensions allow for flexible placement within entertainment centers or on shelving units․
The unit’s weight is around 8․8 pounds (4 kilograms), providing a stable footprint while remaining manageable for relocation or installation․ Careful consideration of available space is recommended before positioning the DVR620KU․
Ensure adequate ventilation around the device to prevent overheating․ Proper placement contributes to optimal performance and longevity of the unit․